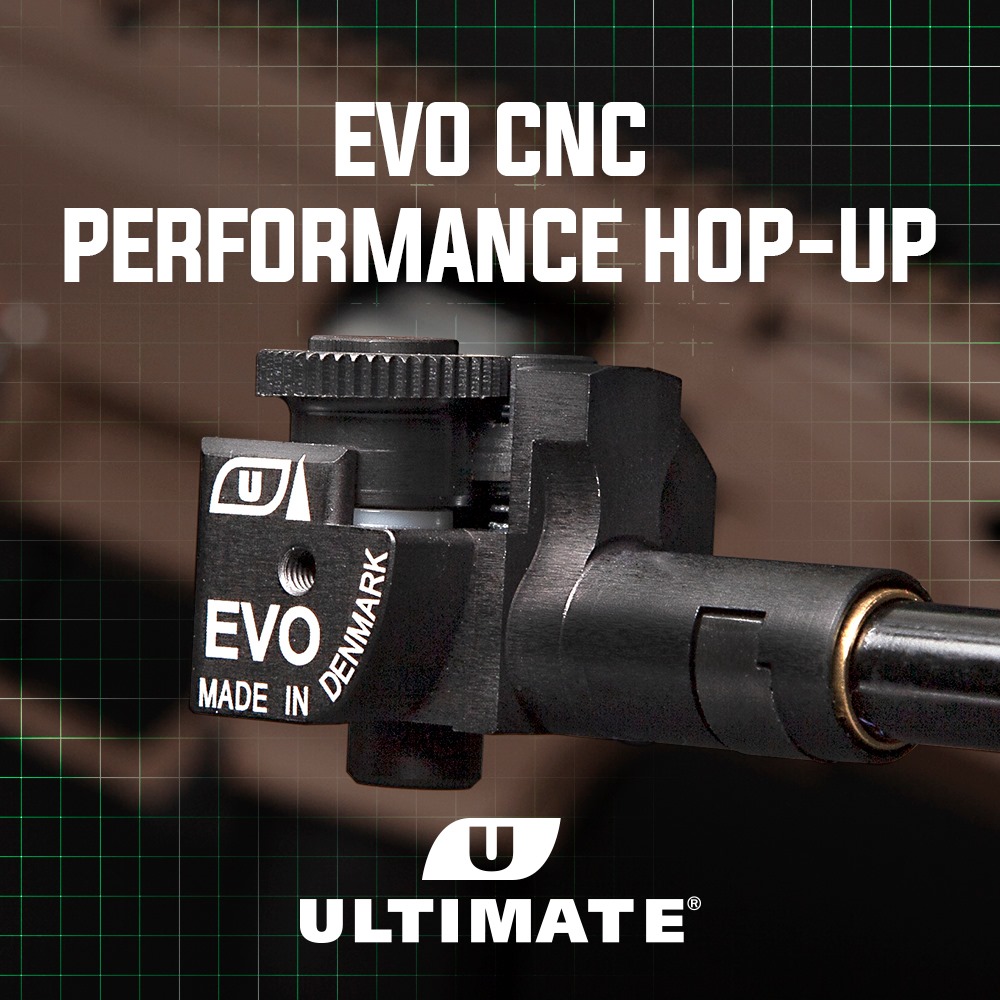
Ben from ActionSportGames in the UK has been kind enough to forward us some useful information which was shared in the “unofficial user group”, in relation to the new EVO CNC PERFORMANCE HOPE UNIT which we thought best to share!
He told us:
There have been a few people that have contacted me recently with questions regarding the new EVO CNC hop unit; this is absolutely fair, seeing as the hop works unlike anything else on the market that I am aware of. It can seem a bit bewildering and whilst the basics are covered in the paperwork that accompanies the hop unit, I thought I would take the time to explain what all the little disks and extras are included in the hop package are actually for.
Fundamentally, the hop unit has been designed to have an adjustment dial that is precise and smooth, stepless and also as proofed against vibrating out of setting. It has been designed to provide adjustment and hop pressure on a directly vertical plane, precisely perpendicular to the barrel bore.
Do do this, and also fit into the provided space and allow easy battery access, the hop unit uses a dial with a cam, that gives 1mm of adjustment range.
This doesn’t SOUND like a lot, however it’s plenty in terms of hop pressure adjustment… (It’s over 1/6th the bore, afterall.)
During assembly, the instructions tell you to stack a certain height of washers. These washers set the starting point of the adjustment, and the end point of the adjustment range. To ensure all slack and undesirable movement is taken out of the adjustment stack, a total of 2mm of spacers must be used… No more, no less.
The “default” setting is to use both white washers. one above and one below the part HU3-B (Adjustment Button).
This will give you a reasonable amount of adjustment with stock EVO hop rubber, using a stock barrel, and using a single “Top Rubber” (HU7-B). If you are using comparable parts, with a similar hop sleeve with a bump, you may find this is fine.
However, if you are using a “Flat hop” you may find that the adjustment range is not great enough, so you will need more positive adjustment.
To achieve more positive adjustment, you need a thinner washer on the bottom, so remove the white washer on the bottom, and replace with the thinnest washer, the red one, which is 0.1mm thick.
Remember you need to even this out with 1.9mm of washers on top (to total 2mm), so stack one white washer (1mm) one yellow washer (0.5mm) and 2x blue washers (2x 0.2mm).
One the opposite, if you are using a thick sleeve with a bigger bucking/roller you may need to limit the adjustment by stacking washers in the opposite way, so 1.9mm on the bottom and the 0.1mm on top.
These examples are extreme just to demonstrate the point and your set-up may require less extreme balance, but there are so many set-ups, it’s hard to make much of a guide, but I hope this makes things easier to understand!
(FYI: Use both white washers in your average configuration)
The new EVO CNC Hop Unit is currently with ASG’s Premium Retailers, but should be hitting their website soon, so keep your eyes peeled for further updates!


